Activity
Mon
Wed
Fri
Sun
Jan
Feb
Mar
Apr
May
Jun
Jul
Aug
Sep
Oct
Nov
What is this?
Less
More
Memberships
Nail University
Private • 456 • Free
Nail Tech Community
Private • 34 • Free
Nail Tech Hub
Public • 370 • $27/m
3 contributions to Nail Tech Hub
help!
where can i order gel-x starter kits online that supports delivery in asia? (PLEASE DONT SUGGEST AMAZON, MOST DON'T SHIP WHERE I LIVE, IF THEY DO DELIVERY IS LIKE 150$$) thank you!
1
1
New comment Aug 19
okay so let me write the steps of gel-x nails (correct me if im wrong )
𝐍𝐀𝐈𝐋 𝐏𝐑𝐄𝐏 1) filing your natural nails 2) cutting your cuticles 3) buffing the surface of natural nails 4) cleaning the nails with alcohol pad 5) nail dehydrator/primer 𝐀𝐏𝐏𝐋𝐈𝐂𝐀𝐓𝐈𝐎𝐍 6) selecting right size of gel-x tips for your nails 7) small amount of soft gel adhesive (or builder gel) to the underside of the Gel-X tips 8) positioning the Gel-X tip onto your natural nail starting from the cuticle area. Press down firmly (at 45°) + ensure there are no air bubbles 9) cure 30-60 secs 10) once all the tips are applied and cured, file and buff to remove shine and to shape the tips to your desired length and shape 𝐃𝐄𝐒𝐈𝐆𝐍𝐈𝐍𝐆 11) apply base coat to the gel-x tips and cure 30-60 secs 12) apply gel polish as your desired base color. for example, i want strawberry inspired nails, i want the base color to be pinkish-reddish 12) design as you wish/how the clients want - the length and shape of the nails (square, almond, coffin, stiletto) will influence the design. For example, longer nails offer more space for detailed art, while shorter nails might benefit from simpler, more compact designs. As you design, you can also make your own 3D charms for your nails with sculpting nails (example : ggulbu gel for miffy nails). For adhering 3D charms on nails, use builder gel/hard gel to adhere the charms on the tips and cure. 13) finish off your nailwork by applying topcoat (glossy/matte according to your preference) on each nails and cure for 30-60 secs. 𝐅𝐈𝐍𝐀𝐋 𝐓𝐎𝐔𝐂𝐇 14) wipe the nails with alcohol or a cleanser to remove any sticky residue left by the topcoat or other residues 15) apply cuticle oil to nourish the cuticles
0
2
New comment Aug 19
Learning Nail Tech in Asia
hello xx im completely new and learning on gel-x! any beginner tips on gel-x would help me a lot!
1
0
1-3 of 3
@strawbe-mochi-6940
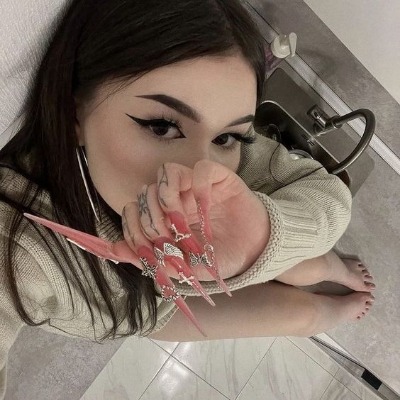
beginner nail tech <3│she/her 💋
- learning 💌
- nails enthusiastic 💅
- basically married to buldak ramen atp 🍜
- wanna grow big with my works 💸
Active 88d ago
Joined Aug 16, 2024
powered by

